
How to Improve Your Photo Composition: Vary Your Angles
This post is the second in a photography series on improving photo composition. To see the rest of the series, click here: How to Improve Your Photo Composition Series.
For your convenience, this post contains affiliate links.
The easiest way to improve your photography is to improve your photo composition. It doesn’t require any fancy equipment or technical knowledge, and you can use whatever camera you have—even if it’s just a phone. Last week we talked about zooming, this week we will be discussing how to vary your shooting angles to get more interesting photos.
How to Improve Your Photo Composition: Angle Variation
Most amateur photographers get stuck shooting their subjects straight on. There’s absolutely nothing wrong with taking a photo straight on, but if that’s all you do, it can get very boring! A good photographer knows to look at things from every angle possible. When you learn to shoot from multiple angles, you might get some photos that don’t work at all, but you will also get many photos that are truly great. Don’t be afraid to vary your shooting angles!
Since everyone already knows how to shoot something straight on, I’m going to skip that particular angle. Part of the reason we stick with the straight on shot is because we don’t think about moving our own bodies to get a different perspective. Don’t be afraid to climb up on something or lie down on your belly or even your back to get a more interesting shot of your subject. And while you are getting that great angle, don’t forget to zoom at the same time!
Shoot upward!
Get lower. Lie on the ground. Do whatever you can to elevate your subjects and find a more interesting angle from below.
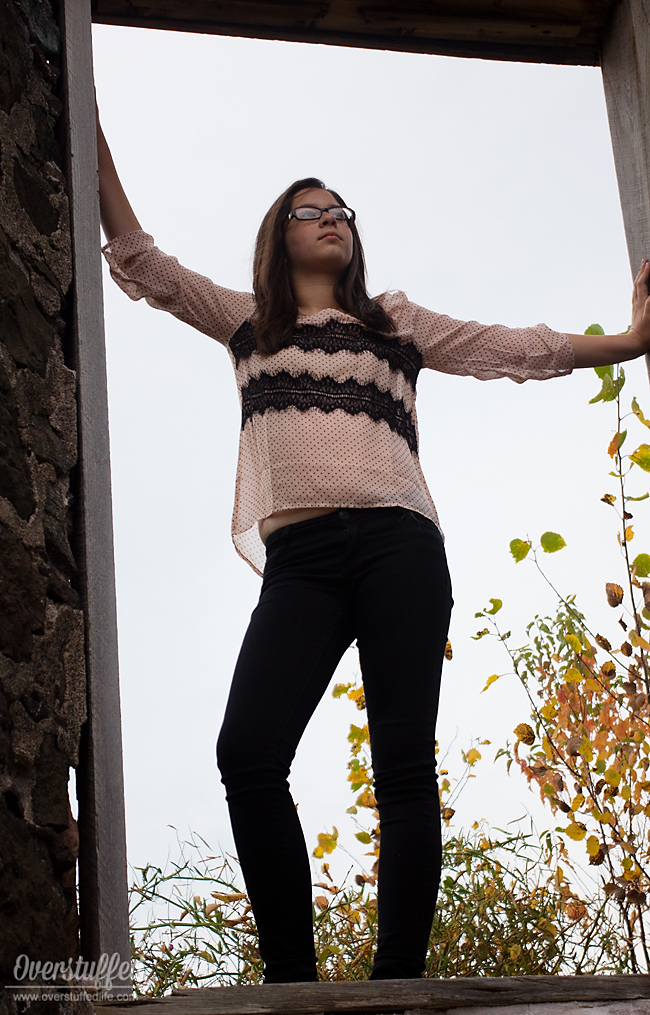
This is a photo from my daughter’s 13-year-old photoshoot. We were at the old mine ruins near our home and she is standing in a window while I took the shot from below here. I really love how it turned out and it ended up being one of her favorites from the shoot. She used it as her Instagram profile picture for a long time—and from a teenager that is a high compliment!
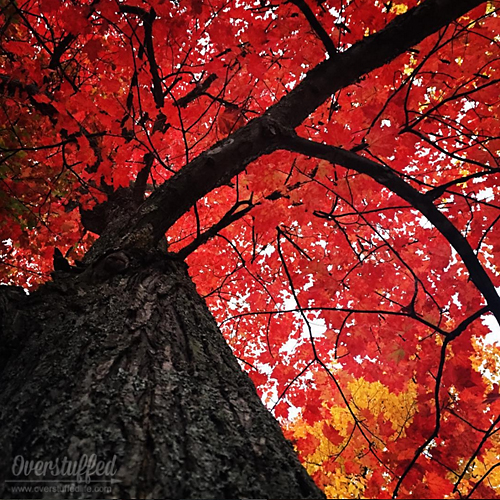
This photo is actually one my middle daughter took this past fall. She took it with my phone and really captured the splendor of fall by shooting straight up the tree into the leaves instead of trying to get a straight on photo.
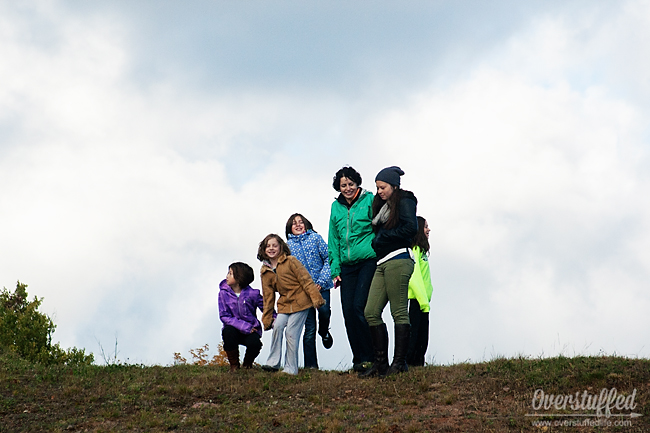
This photo was taken of my friend with our children at the ski hill. We had all ridden the chair lift up for a fall color tour and I was the last one off the lift. At this point, they were on the hill above me so I zoomed in and shot a photo of all of them from below. I love the personalities I captured from this angle.
Shoot downward!
Get on a ladder. Go to the top of the stairs. Have your subject sit while you stand above them. Look down on your subjects—but only with the intent to make them look great! Shooting a close-up headshot from slightly above is actually more flattering than a straight on shot. Double chins disappear and the eyes look larger.
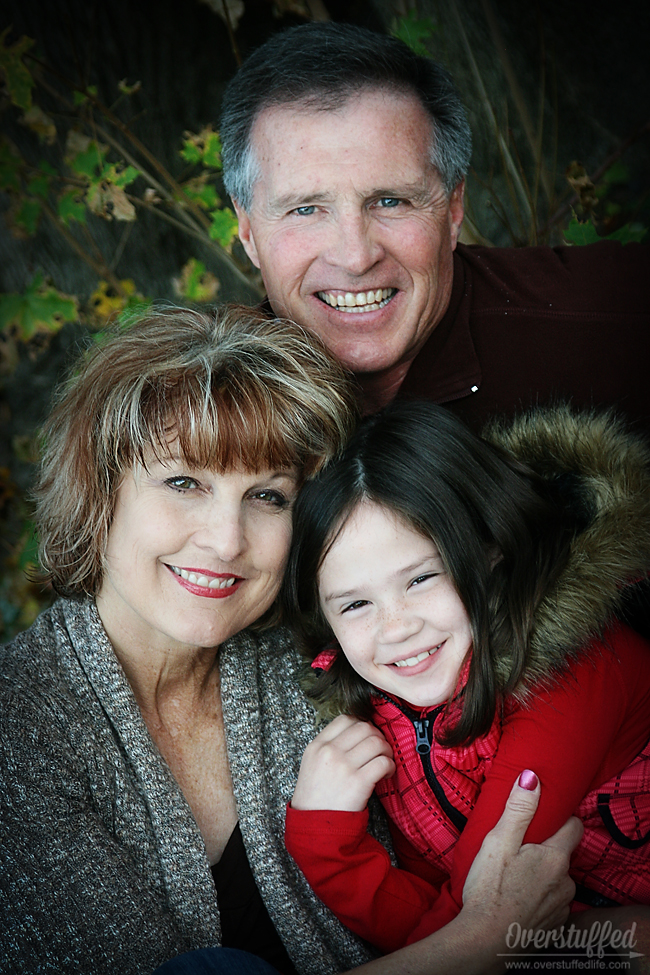
This photo of my parents and daughter was taken while they sat on the ground and I stood above them. It isn’t a drastic angle at all, and most of the portraits I take are from this type of angle. It is always more flattering and just highlights the eyes and the jawline better.
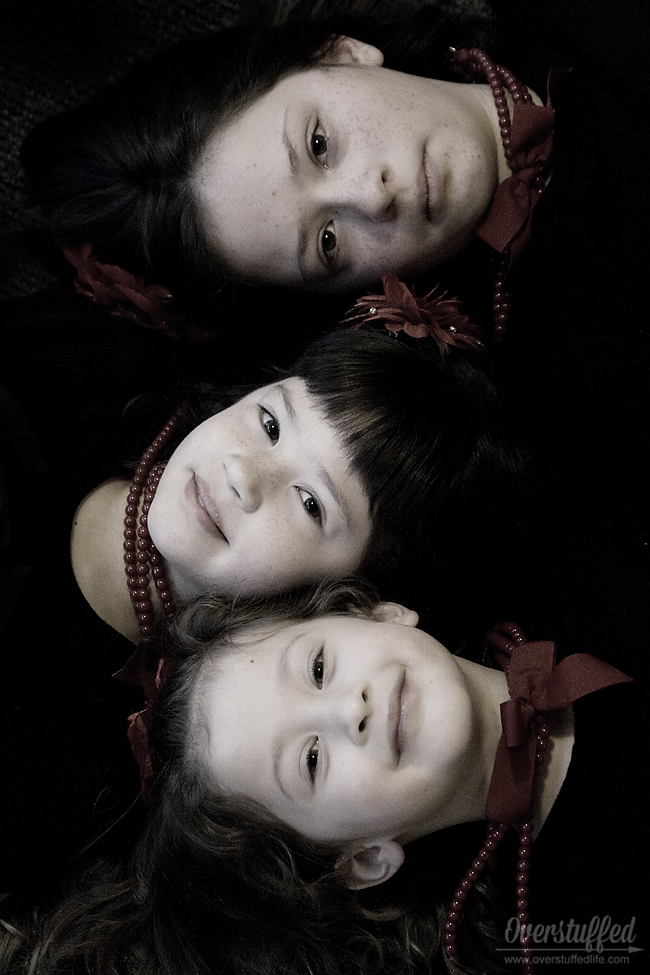
I took this photo of my girls while they were lying flat on their backs and I was standing on a chair above them. This is shooting straight down—a much more drastic angle, and it returned a really nice photo.

Sometimes it’s easier to tell the full story from above. This photo of my youngest was taken while I stood on the top of our porch steps and she stood at the bottom of them. You are able to see the details of her muddy feet, tummy, and hands much better from this angle than you could have if I had shot this straight on.
Shoot from behind!
By capturing your subjects from different vantage points—without their knowledge, even—you will get some photos that are much more interesting than the posed variety. It doesn’t always have to be just from the back, either (though that is one of my favorite ways to capture my kids in photos), it can be from a sideways angle, too.

Again, telling the whole story is sometimes easier from behind. I often photograph my kids while on vacation from behind. I like this one of them pulling their matching suitcases through the airport. It’s not even in great focus because of their movement, but it tells a story.
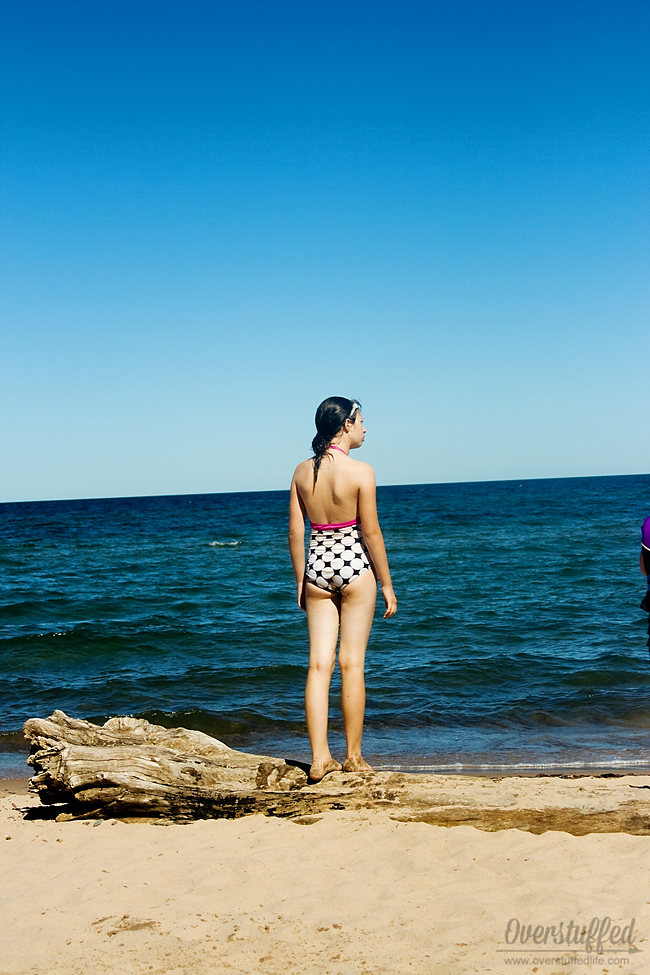
The fact that they usually don’t even know you’re taking the photo is to your advantage. I love catching my kids standing and contemplating life, like this photo of oldest daughter at the beach a few summers ago.
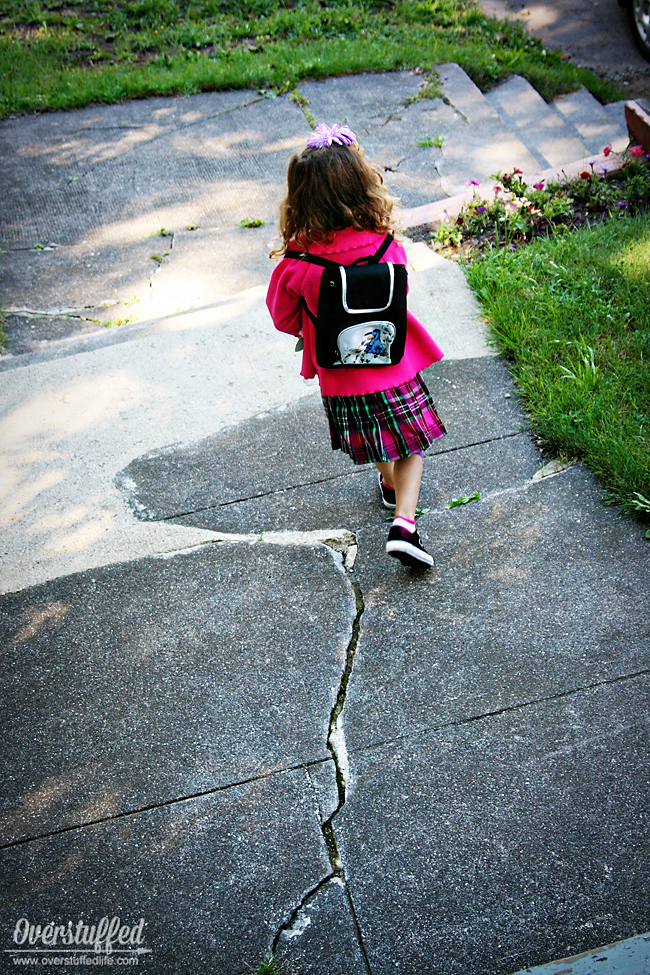
I especially love taking back-to-school photos from behind. How cute is this picture of my then 3-year-old off to her very first day of preschool?
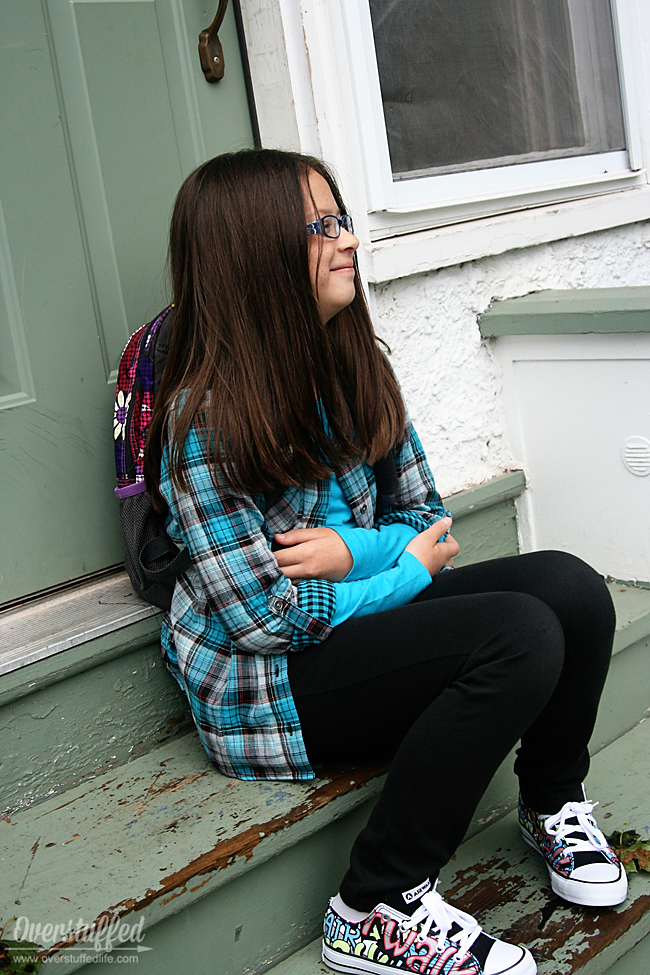
Here’s an example of using a sideways angle. This is my oldest daughter’s first day of 4th grade, and it’s just another way of capturing the anticipation of the first day of school (in a new state and city that year). You get the backpack, the brand new shoes, and the facial expression—all telling a different story than a straight on shot might.
Angle your camera!
This sounds kind of weird, but it’s a great way to get some really fun shots. Instead of always having your camera be either portrait or landscape oriented when you shoot, try putting it on an angle. You’ll find it gives you some great photographic interest. It’s one of my favorite techniques to just make photos more fun and feel less posed.
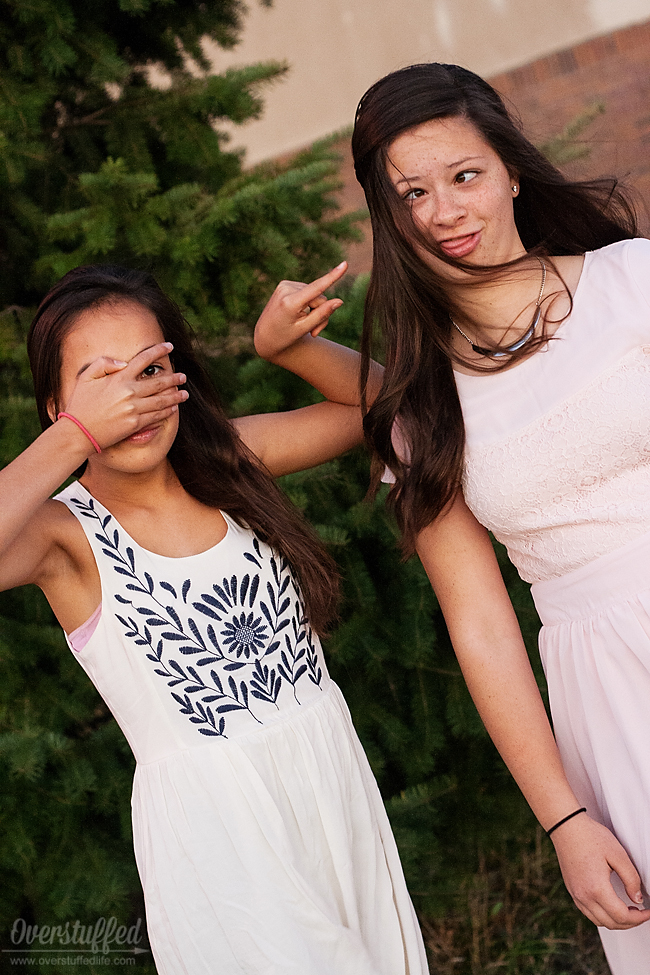
This is a photo of my oldest and her BFF at a high school dance last year. They were having a lot of fun being silly for me, and by angling the camera I was able to highlight that silliness in a really cool way.

In this photo of my husband, not only did I angle the camera, but I deliberately cut some of his head and body out of the photo for a more interesting shot. It has turned out to be one of my very favorite photos of him, because it really captures his great smile better than any other photo I’ve taken of him.
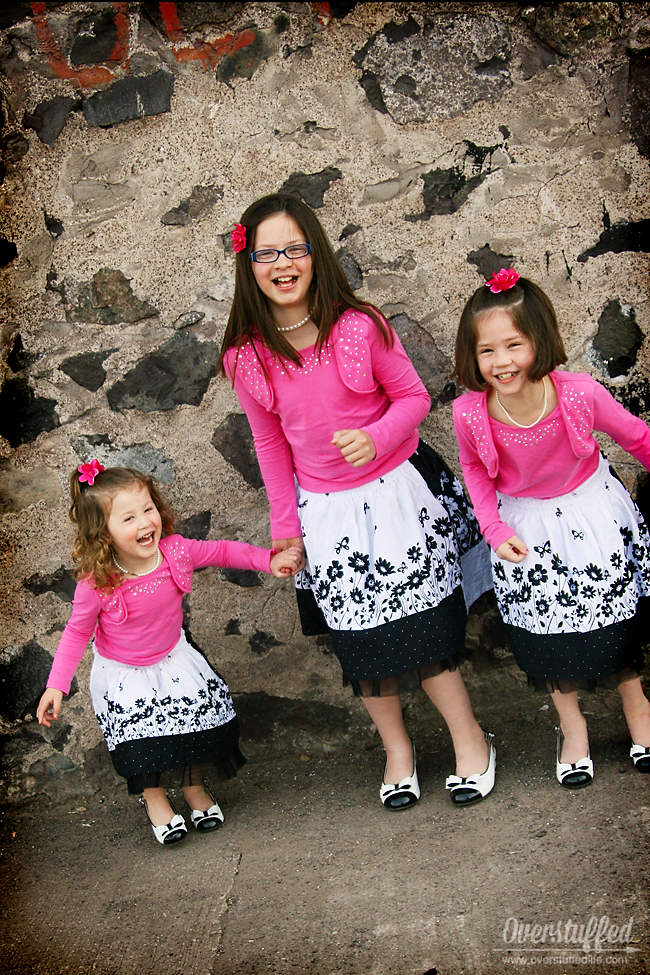
Finally, in this photo of my girls, I slightly angled the camera while they jumped. The effect highlights the fun they were having together. You can see the angle in the line of the street, which was not actually a hill but looks like it might be.
Make it a goal to get your subject from as many angles as possible. Depending on what you are shooting, it might not be possible. A moving toddler is very different from an oak tree! Just start adding new angles to your repertoire and start seeing things from perspectives other than straight on, and you’ll be surprised at the great photos you will come up with!
Part 1: Get more interesting photos using your zoom!
Part 3: Learn how to use visual triangles
Part 4: Learn how to use the rule of thirds
This post may contain affiliate links, for more information, please see my disclosure.


