
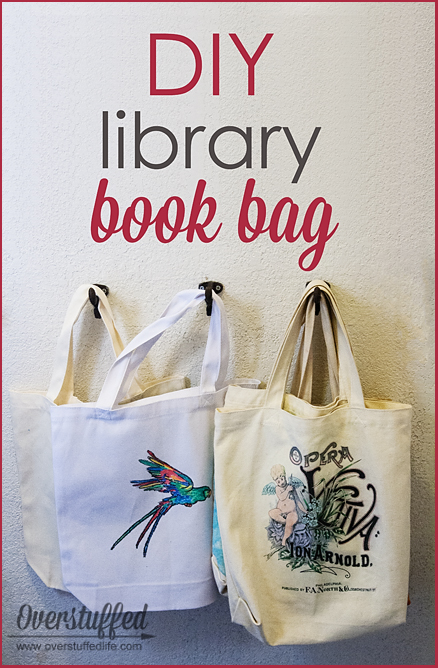
Easy DIY Library Book Bag
Make library trips more fun with a cute, personal library bag for your kids! Super easy to make!
This post is part of an ongoing Summer Reading for Kids series. Click HERE to find ideas for reading activities, reading lists, and reading incentives…and keep checking back for more!
Several summers ago, we made some fun, personalized tote-bags to take to the library. I was looking at them the other day and realized that they’ve been very well-used, plus the girls would probably be embarrassed to be seen with them now because of the designs they had chosen back then. My oldest, then 9, chose Tinkerbell and Jasmine. The middle child, then 7, chose Littlest Pet Shops, and the youngest, age 3, had chosen My Little Pony.
It was time to make new, updated, library bags. They’re very easy and inexpensive to make, so we decided to get it going last night, even though it was a school night.
Supplies needed:
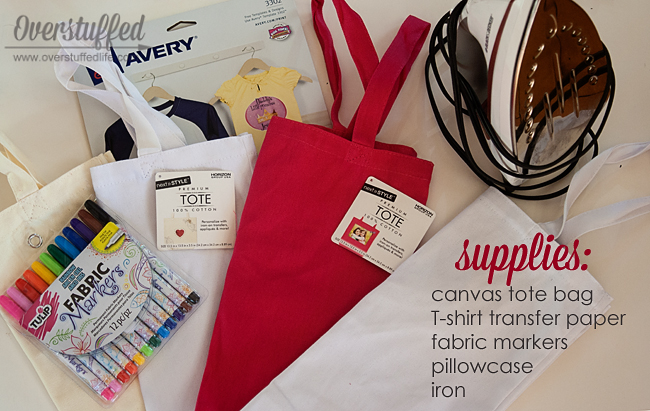
- T-Shirt transfer paper
- an iron
- a pillowcase
- plain canvas tote-bags (easily found at any craft store—we got ours in the craft aisle at WalMart)
- fabric markers or craft paint
- a computer printer
- lots of creativity and fun
Directions
1. Find artwork to put on your bag
The girls then thought about what they would like to put on their bags. Since these are bags intended for books, the two older girls decided to incorporate their favorite books. My youngest decided to decorate hers with Pokemon characters, which are her latest obsession. That sort of counts, right? I’m sure there are tons of books about Pokemon.
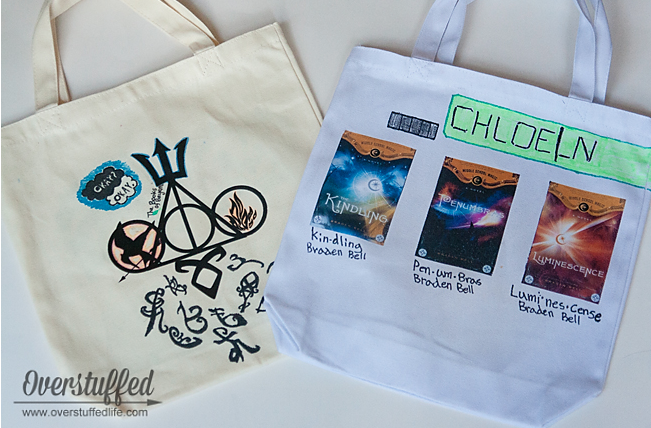
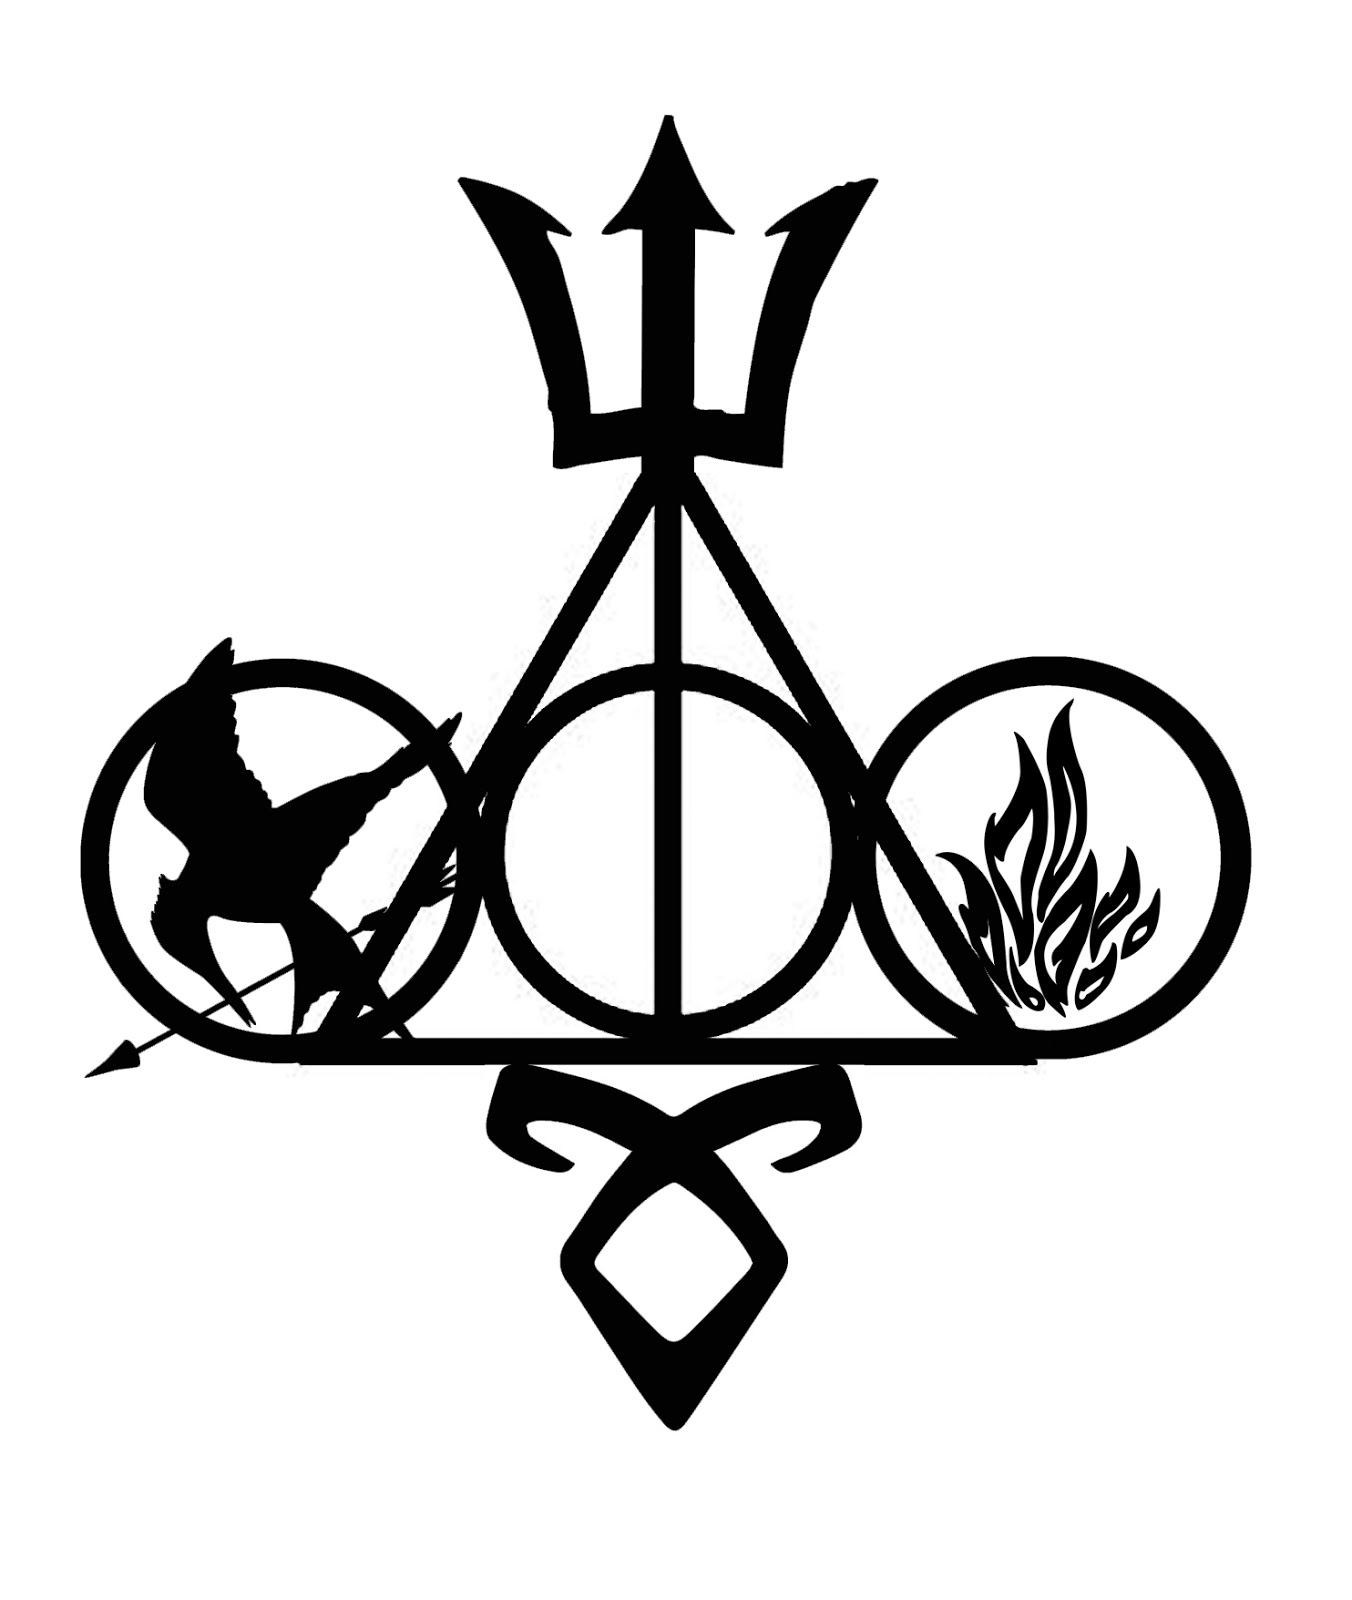
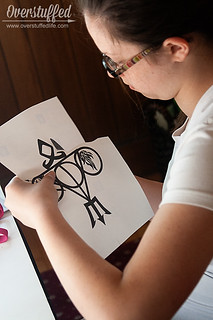
My oldest daughter had found a piece of jewelry online that had the symbols of all her favorite YA book series: The Hunger Games, Percy Jackson, Harry Potter, The Mortal Instruments, and Divergent. We looked and looked for an image online that was high enough quality to print, but couldn’t find one. So, I ended up putting one together in Photoshop. (If you have a teen daughter who loves all of these books, too, go ahead and download my file HERE.)
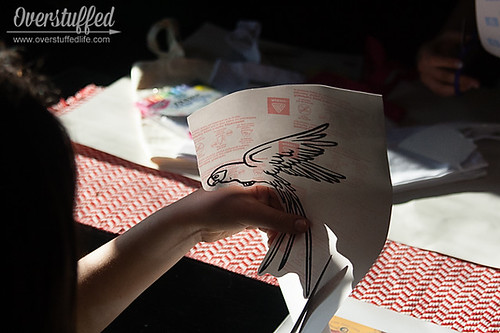
For the youngest we googled free Pokemon coloring pages and printed those out. You could also print things out full color, like we did for my middle daughter’s favorite trilogy (The Kindling by Braden Bell), but coloring pages work especially well so that kids can color them in with fabric markers once they are on the bag. My middle daughter also did a coloring page of a parrot on the back, which is part of the plot of The Kindling.
2. Print the artwork onto the transfer paper
Once you have your images found, you’ll want to print them out onto the T-shirt transfer paper. Make sure that you use the mirror image/reverse/T-shirt transfer option in your printer. If you can’t find that option—every printer is so different!—you can also easily reverse the image in photo-editing software. If you just have a picture, it may not matter one way or another, but if you have letters or symbols in your image, don’t forget this step.
3. Cut out the artwork
After you have printed the images out, have the kids cut around the edges. They should keep a bit of space from the lines (which my youngest didn’t do) and use rounded edges as much as possible. Both of these things will make it easier to iron it on and to guarantee it stays put.

4. Iron the image onto the bag
Now it’s time to iron. Place the bag on top of a pillowcase (not a towel like we started with…it’s too soft), put the transfer paper where you’d like it to be, face down, and iron away. Be sure to follow exact directions for the type of transfer paper you used, and make sure your iron is hot enough.
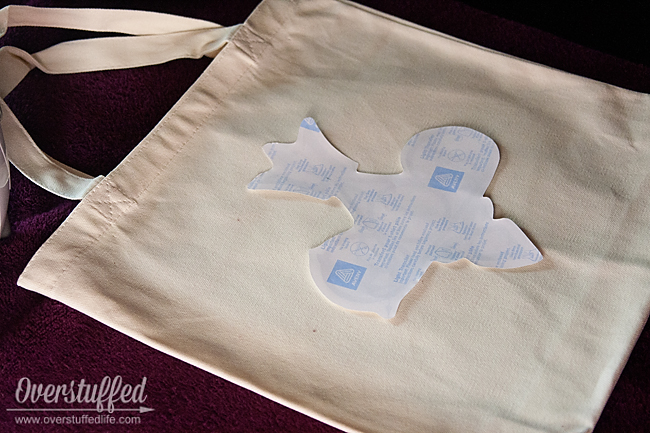
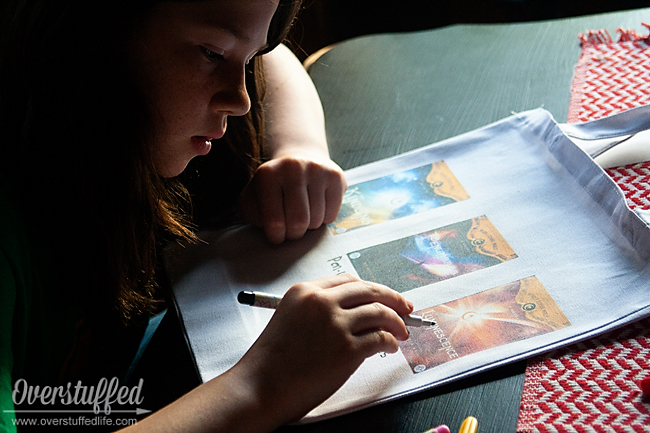
5. Peel off the transfer paper and start decorating
Once the bag has cooled down, you can peel off the transfer and start decorating with fabric markers or craft paint. Fabric markers are much easier for little ones and don’t have to dry. If you do use paint, make sure that you let it dry at least overnight before using your bag.
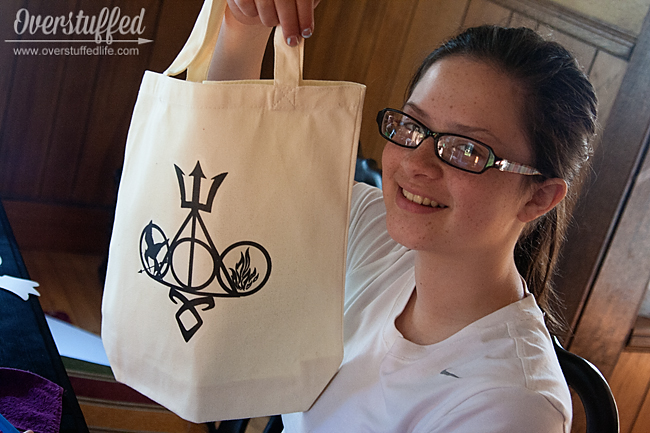
Here are (two of) our finished projects. (I can’t find my youngest’s Pokemon bag. I think she may have taken it with her to school today because she loves it so much!)

My oldest added The Fault in Our Stars and The Books of Bayern with the markers. She has a lot of favorite books. She used more rune symbols from The Mortal Instruments, and on the back she wrote her name and High School mascot. And you can see the parrot on the back of my middle daughter’s book bag, along with the book bag I made for myself 4 years ago in the photo at the top of this post.
These are easy, inexpensive, and super fun to make. The best part is that the kids really love taking them to the library and filling them with books every week in the summer!
This post may contain affiliate links, for more information, please see my disclosure.


Great project, expecially for kids.
That is so fun! I love that kids can foster their love of reading with crafts like this! And you could scale it to any age range.. Love it!
This is a fantastic idea!
I LOVE THE FANDOM BAG!!! ACK! ITS AMAXING!!!