
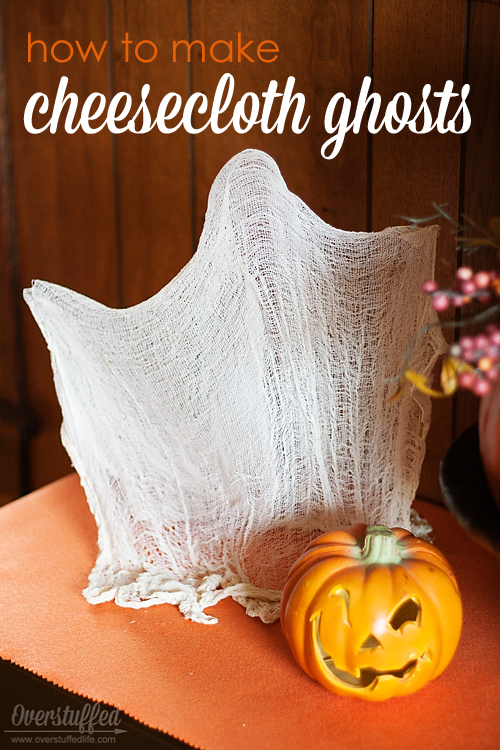
How to Make Cheesecloth Ghosts for Halloween

These retro cheesecloth ghosts are simple to make and add a touch of whimsy to your Halloween decor!
When I was little, my mom and I made these cheesecloth ghosts to add to the Halloween decorations. Several years ago I saw some cheesecloth for 5 cents at a thrift store, so I picked it up thinking the girls and I could make these ghosts.
Well. We never actually did.
Five years later, during my decluttering rampage this month, I came across the cheesecloth. Since I’m making myself get rid of any project/project supplies that I haven’t actually completed I decided it was time to make the darn ghosts already.
Supplies needed to make cheesecloth Halloween ghosts:
- Cheesecloth
- Heavy liquid starch or Mod Podge
- Random objects around the house to serve as a form for your ghosts
- Plastic cutting board or other plastic surface
- Battery powered LED tealights (optional)
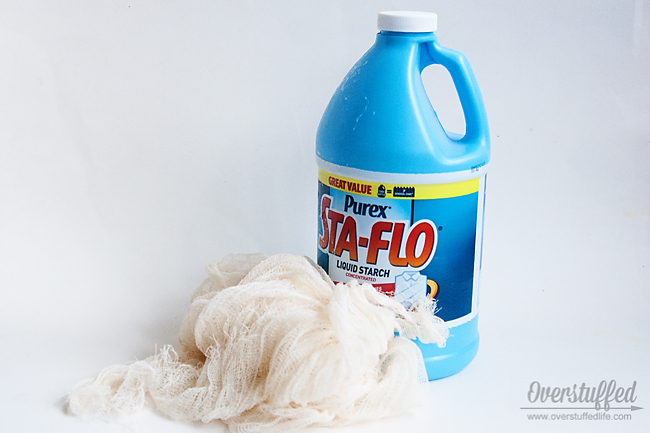
You need to find starch that is not in an aerosol spray bottle, because that won’t work. I used this Purex brand because it is super concentrated and perfect for this particular project. I also tried to use some lighter starch I had, and the results were not so good. The heavier the starch, the better. Mod Podge will make a much stiffer ghost, but is a great alternative to starch.
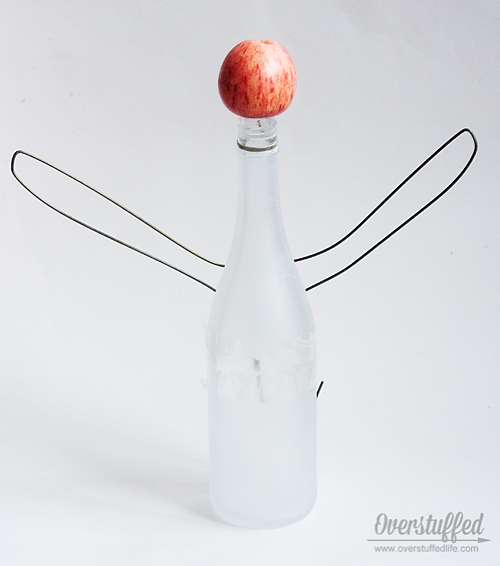
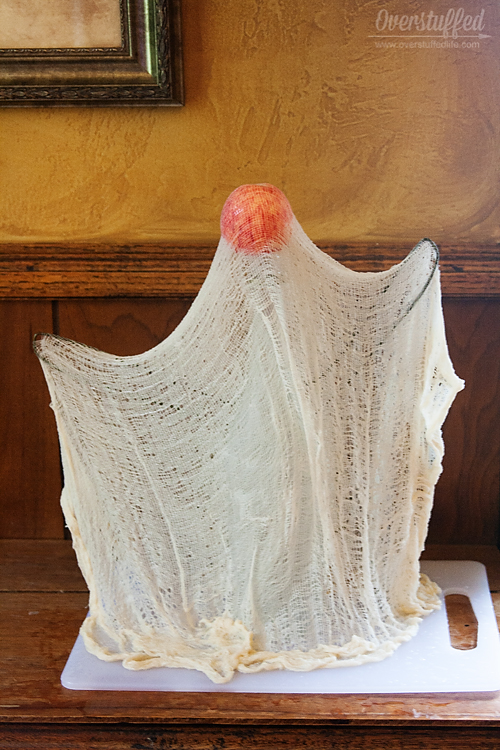
1. Get your form ready
I used a bottle, a small apple, and a wire hanger. I bent the hanger to serve as the arms and taped it to the bottle with packing tape. Then I set the apple on top. (At first I tried to use my dog’s little tennis ball, but she had her eye on that thing and I knew she would figure out a way to get it and destroy my ghost in the process, so an apple was my next choice.)
2. Starch your cheesecloth
Fill a small bowl with the heavy starch and soak the cheesecloth in it. If you are using Mod Podge, fill a disposable container with mod podge and soak your cheeseloth.
3. Drape the cloth on the form
Once the cheesecloth is sufficiently soaked through with starch, you can start draping it over the form. Make sure the surface you are working with is protected somehow—I just used a plastic cutting board that was easily washed. I’m not sure what the starch would do to wood surfaces, but I definitely don’t recommend using newspaper or anything like that.
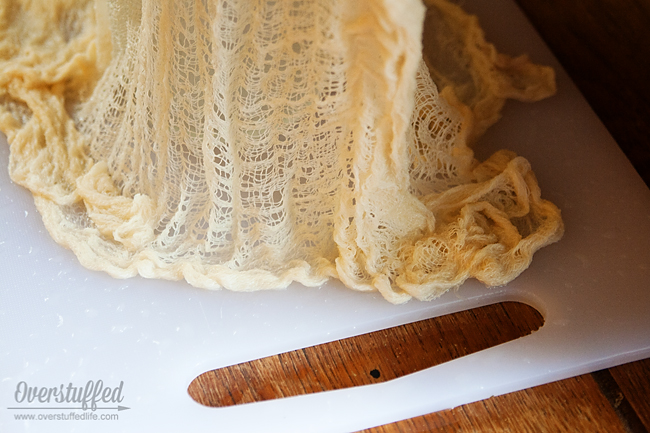
4. Make the ghost sturdy enough to stand on its own
Make sure you create enough pooling of the fabric at the bottom, so that the ghost will have a sturdy base on which to stand when it is finished and off of the form.
5. Let dry
I found that the main part of the ghost was usually dry in a day, but the bottom took two days, maybe a bit longer (I made my two ghosts a few days apart from each other).
6. Remove from form
Once the ghost is dry, carefully remove it from the form. You will find you have to peel it off in some places. This is normal and fine, just be careful while doing it.
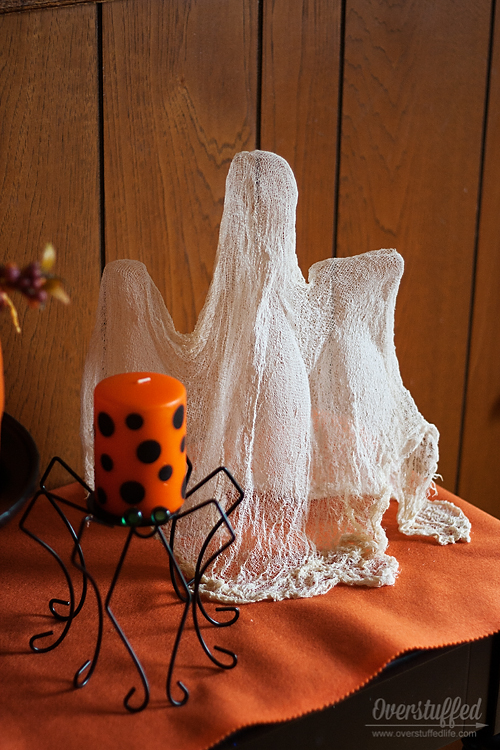
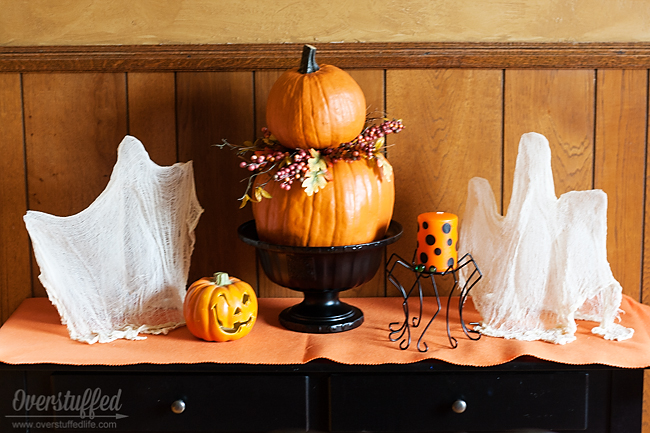
7. Display!
I like my ghosts without any sort of eyes, but I have seen people add googly eyes or make eyes with a Sharpie or pieces of felt.
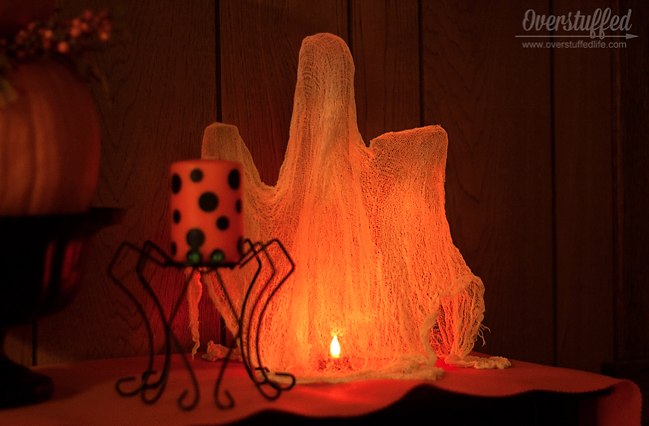
At night, I put a battery-powered LED tealight under each ghost for a super spooky effect.
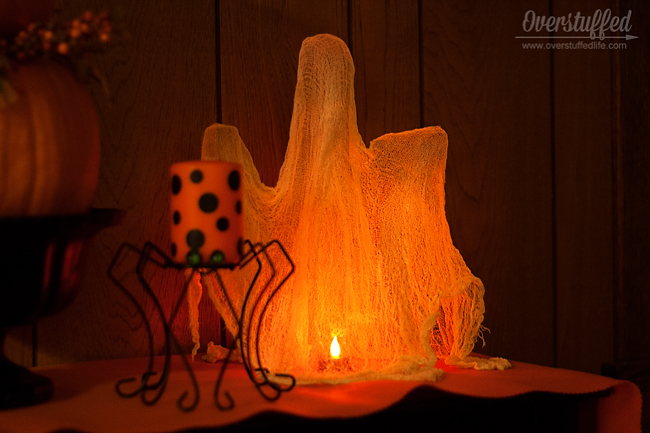
I think they turned out so great, and I am kicking myself that I didn’t do it five years ago!
This post may contain affiliate links, for more information, please see my disclosure.


These are all great motivations for decluttering Lara! I'm glad you're finding it's made such a difference. I'm finding that too the more I keep at it 🙂
Yes yes and more yes! I am currently decluttering myself and I just got my kitchen done and what a WEIGHT off my shoulders and I feel less irritated going in there! LOL
I sooooooo need to do this, thanks for the inspiration to declutter… I have such a hard time finding things!
i keep having this "decluttering" thing revealed to me over and over. I'm feelin' the urge to purge!
Ha! I am your conscience…declutter, Jilly, declutter!
That might be one of the worst byproducts of clutter. Good luck!
It does feel great, doesn't it?
I think the hardest part will be for me to keep at it after this month!
It really does!
Decluttering was life changing to me as a college student. All things on your list…and more! 🙂
I, for one, an avowed recovering clutterer, am sick of all the judgment, especially moral judgment people pass when talking about your. They assume you have a deep-seated mental disorder, are materialistic because you don't want to get rid of inexpensive items with sentimental value, and don't do your share of "giving". Religion, in this day in age, would be reluctant to pass as much judgment on certain moral issues, as one gets regarding clutter. The emotiona/spiritual component to cluttering is intimidation, from lack of time and not knowing where to begin. And people do get angry for being judged. I feel we who are intimidated just need a practical strategy, and I have devised one. I think of it as "the tree". Get a black magic marker or brown crayon and draw tree branches similar to making a family tree on a piece of waxed paper. Then hold the paper in front of your clutter, and put all non-related items in the direction of a different branch of the "tree". Then, take each "branch" to a different destination in your home, be it the trash, your closet, a desk drawer, the medicine chest, or any other location YOU deem to be appropriate. And you have the right to things you rarely use, but want to keep. Just put it in a "rare" or "special" location. Granted some people have a LOT of stuff and very small space, and have to break down and give/throw away some things, or think "Will I ever use this again?", but you will be surprised out how much you can actually store in a small residence, if you so desire. Check out decoratingyoursmallspace.com. (Love that site.)