
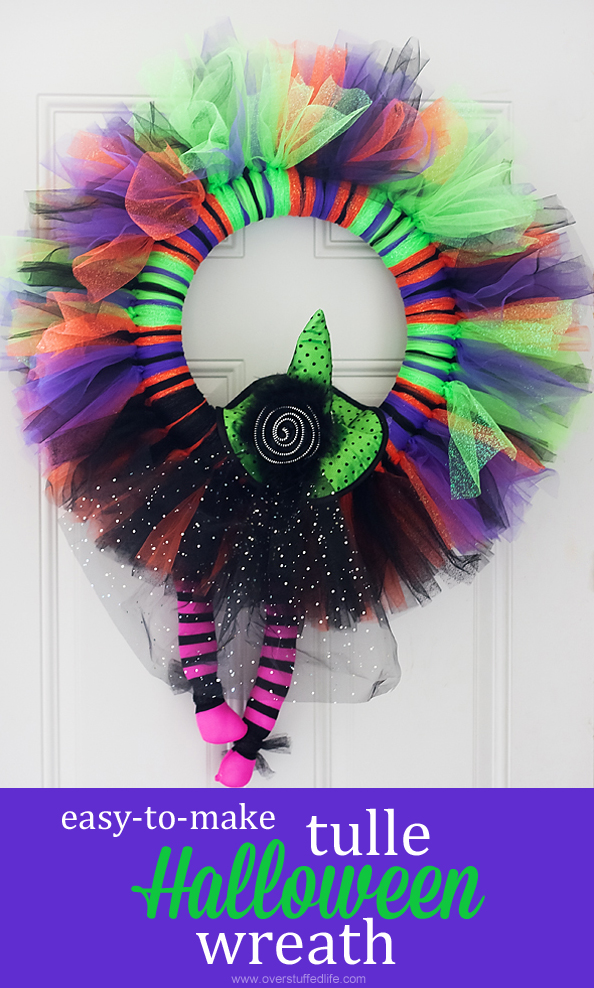
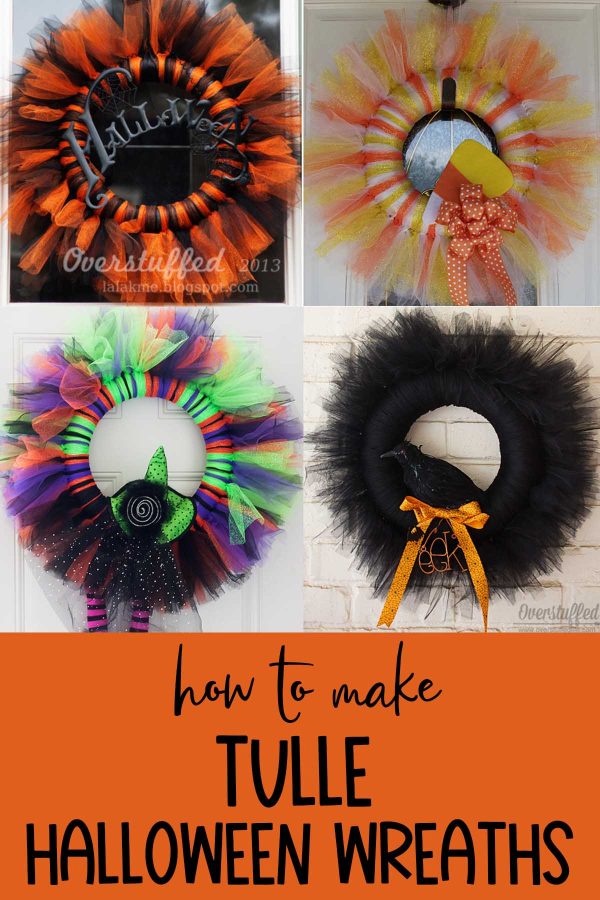
DIY Tulle Witch Wreath for Halloween

This adorable Halloween wreath is simple to make with just a few supplies.
I recently wrote about how I wasn’t so sure I wanted to go all out decorating for Halloween this year. I’m still not sure I want to, but my cute little 4th gradervtook care of that for me! I was going to be totally fine having this adorable witch wreath I made in September take care of the entire Halloween decor! It has the place of honor on my front door and I love seeing it every day when I come home.
Making tulle Halloween wreaths are one of my favorite ways to add new October decor around my house because they are easy to make and pretty inexpensive. This “witchy” tulle Halloween wreath only took me a couple episodes of my favorite show to make and was a fun way to keep my hands busy while I watched.
I got the idea for this wreath from those cute witches you see around that have crashed into houses. I decided not to include a broom, but I still love the way my little witch wreath turned out! It’s one of my new favorite Halloween decorations!
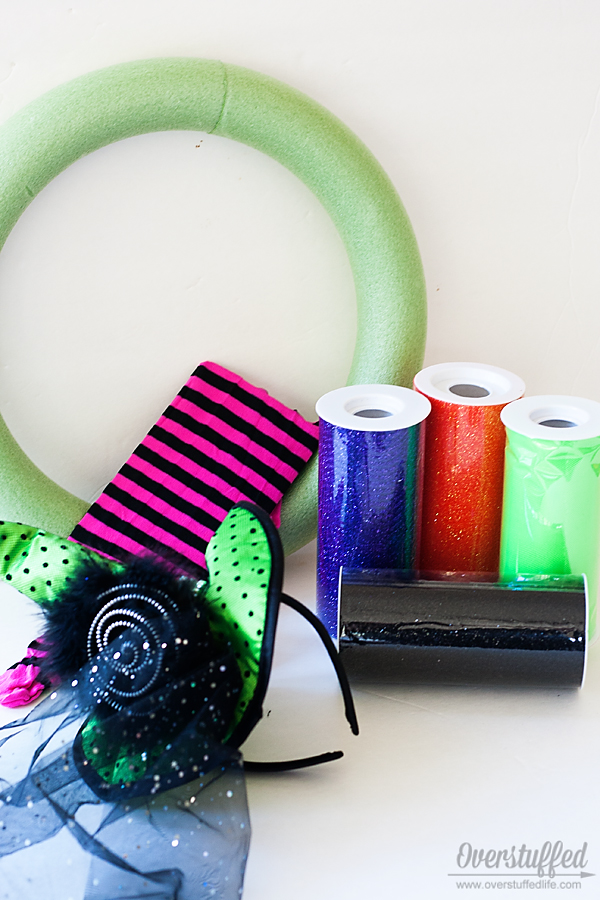
Materials Needed to make Witch Halloween Wreath:
(affiliate links)
- 1 wreath form (any size works–just think about where you will be hanging it)
- 4-8 spools of tulle (how much you use will depend on your color scheme as well as your wreath size)
- purple glitter tulle
- orange glitter tulle
- green glitter tulle
- black tulle
- 1 pair of striped witch tights
- 1 small witch hat (you can find these hooked to headbands in Halloween costume sections)
- hot glue gun
- glue sticks
- craft wire
- polyfill
Step 1: Cut the tulle into strips.
I like to do this by using a piece of cardboard. You’ll want to cut your cardboard to be double the length you want your tulle to be, measuring from the inside of the wreath form. For this wreath, I used a 20″ piece of cardboard.
Wrap the tulle around the cardboard, and then cut both ends of the loop. This is the absolute easiest way to get uniform strips quickly. You can measure and cut them one by one, but that will add hours to your project.
I don’t cut all of the tulle all at once because I don’t want to have too many extra strips cut that I won’t use.
Step 2: Decide on your pattern.
I wanted this wreath to be fun and colorful, and I also wanted to give the illusion of the witch’s skirt at the bottom, so that is how I decided on my color pattern. I alternated between glittery tulle and plain tulle and used two strips for the thicker bands, and one for the thinner bands.
Play around with this a while. I move the tulle around a lot at first until I find a pattern I really like.
Step 3: Tie the tulle onto the wreath form.
I prefer tying double knots rather than looping the tulle onto the form. Not only is it more secure that way, it uses less tulle. I also really like the way the knots look.
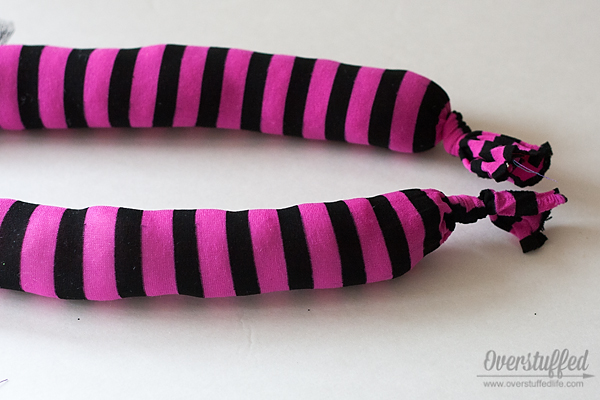
Step 4: Make your witch legs.
Cut off one of the legs from the pair of witch tights you purchased. Then sew two lines down the middle of the leg, leaving enough room between the seams to cut.
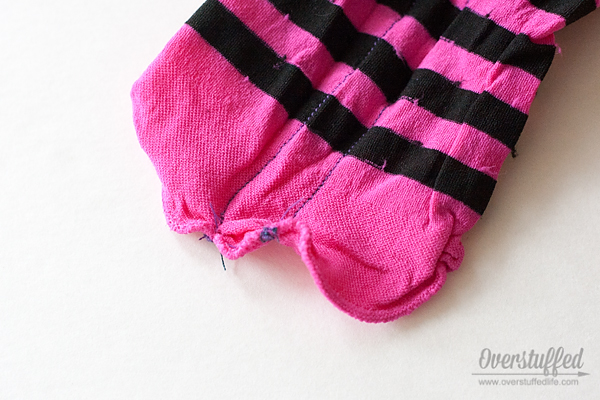
Cut the tight leg in two, right between the seams, and then use polyfill to stuff the witch’s legs. Once the legs are stuffed, tie off the ends.
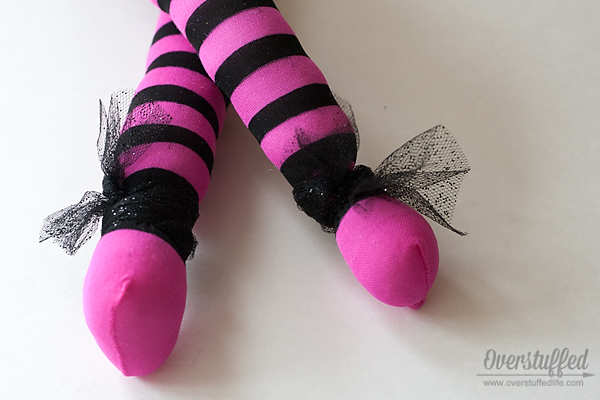
Once the legs were stuffed, I felt they needed something else, so I tied some tulle around the ankles to define the feet a little bit better.
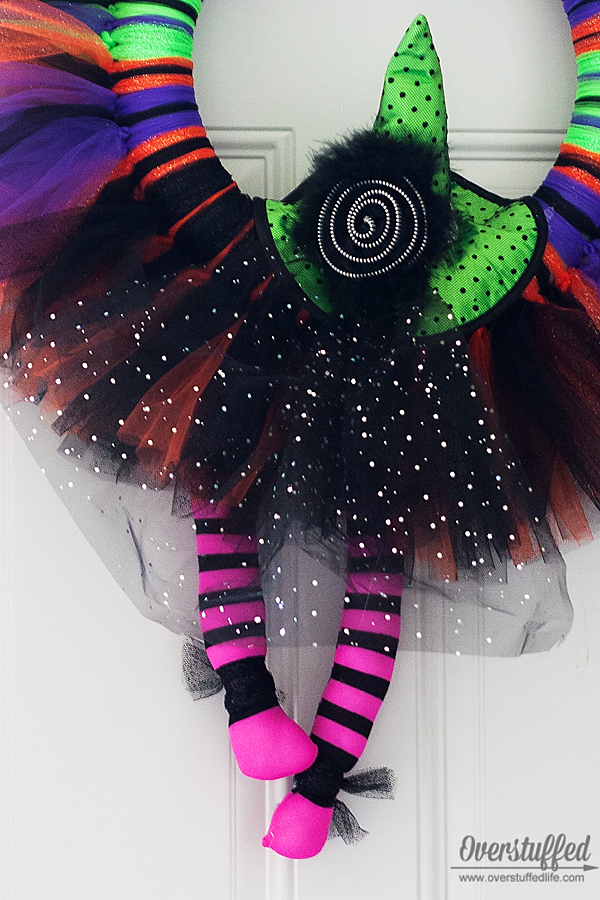
Step 5: Glue the witch accessories to the wreath.
I put hot glue on the upper ends of the witch legs and glued them behind the wreath. I took the headband off of the witch hat and then glued the hat on top of the wreath.
Step 6: Make a wire hanger.
Use your craft wire to make a hanger. Figure out which way you want your wreath to hang and put the wire around the wreath form, hiding it in the tulle. Easy peasy.
Step 7: Hang the wreath and enjoy!
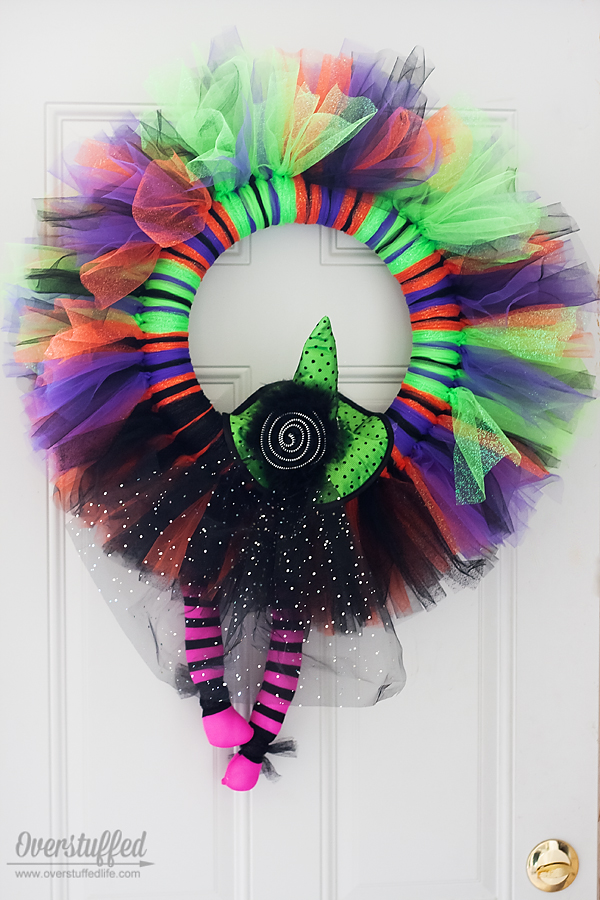
I think this wreath might just be my new favorite decoration for Halloween! I love how adorable it turned out.
This post may contain affiliate links, for more information, please see my disclosure.


