
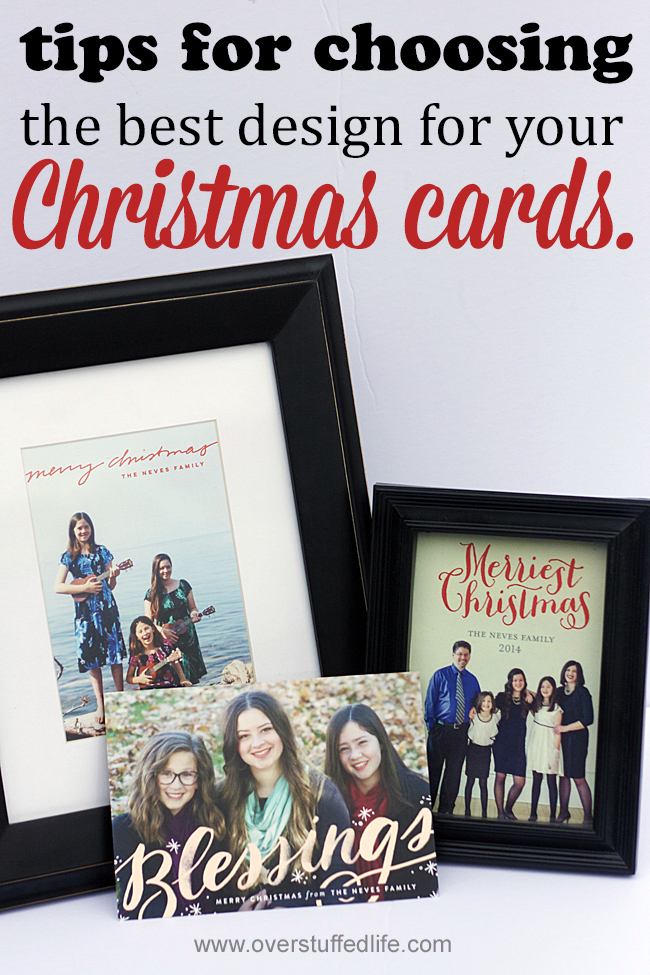
How to Choose a Christmas Card Design
This post is sponsored by Minted—my favorite place to design and order Christmas photo cards.
Sending and receiving Christmas cards is one of the best things about the holidays. Last week I talked about how to get a great photo of your kids for the Christmas card, and today I want to talk about how to choose the right Christmas card design for that photo (or multiple photos!).
This year, I knew I wanted a card with a landscape orientation, simply because I’ve done portrait orientation for the last several years. I went to Minted.com (my favorite photo design site) and chose landscape oriented designs that I liked.
I really liked one design in particular, and since I looked at designs before I took the photo, I ended up choosing my girls’ outfits based on one of those card designs. I have never had my heart set on a particular design before I had a concrete photo before, and I learned that it is much easier to choose the design after you have chosen a photo.
Because, guess what?
I didn’t end up going with that first design (even though I loved it!) because it just didn’t work with the photos I had taken. The truth is, the photo is the most important part and you need to find a design that can feature your photo or photos in the most beautiful way. Here are 4 tips to choosing the best design for the photo that you love this Christmas:
How to Choose a Christmas Card Design
1. Choose your photo or photos
Whether you are using a professionally taken family portrait, snapshots you’ve taken throughout the year, or photos you did yourself, decide which picture or multiple pictures you want to share on your card this year.
Don’t worry about how it will look on a card—honestly choose your very favorite photo. You will be happiest with your final product when you truly love the photo.
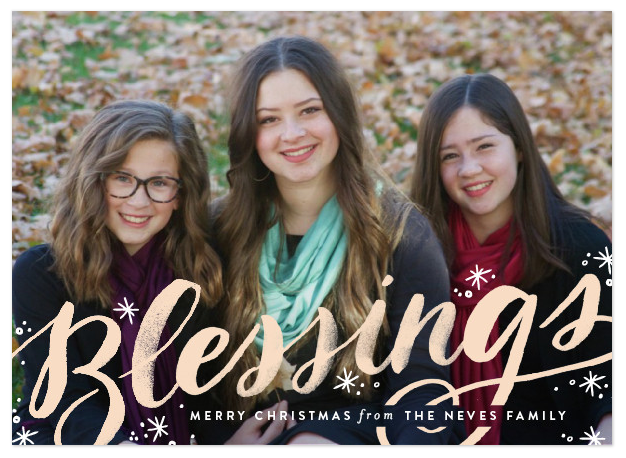
I had a lot of good choices this year, but the photo that I ultimately chose was this one:
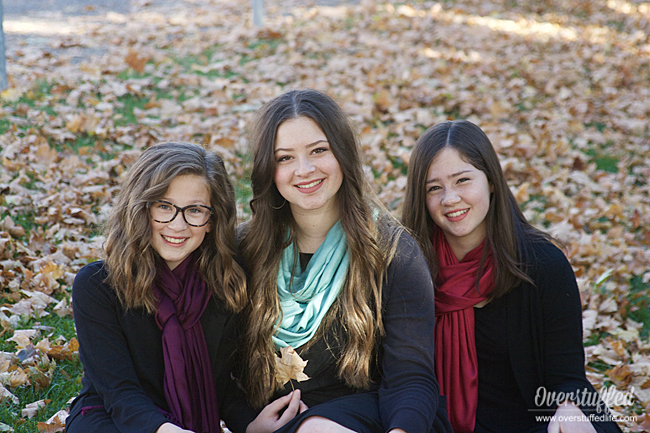
The fall background didn’t look right in the card I had originally chosen. But now that I knew which photo I was using, I could easily go on to the next steps and get the perfect card for my favorite photo.
2. Find card designs with the right photo orientation/number of photos
If you want to use multiple photos, you will be limited to the cards that have the correct amount of photo slots. Same with photo orientation. If you have a portrait oriented photo, you’ll want to find card designs that can accommodate that.
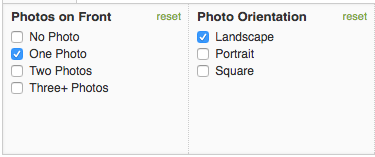
Minted has an easy way to eliminate all designs except the ones that will fit the photos you have chosen. Simply check the boxes for number of photos and orientation, and it will then show only the card designs that will work for you.
3. Choose card designs that have similar colors to your photo
The whole reason my original pick didn’t work was because of the fall background. The colors in that card design were too bright—they would have been perfect if the background was snow or a very light backdrop. I knew I needed something more muted, so I started looking at cards that had gold color schemes.
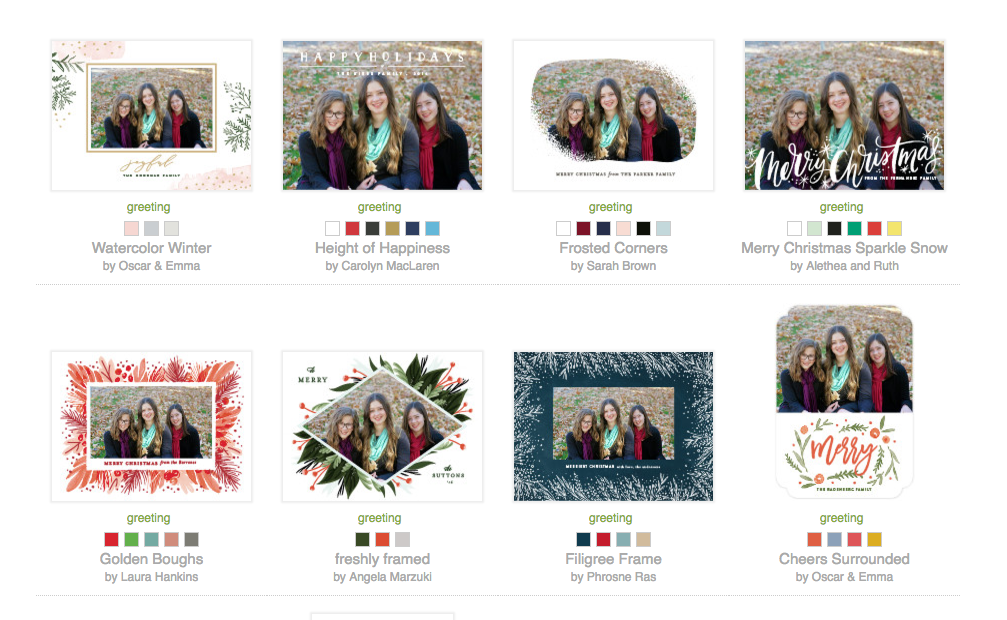
Again, Minted has a way to make this process as easy as possible. You can see your photo in all of the cards at once! Also, each card has several options for colors, so even if the default doesn’t work, one of the other colors might. In order to see your photo with another color in the design, simply click on it, choose “personalize,” and choose a new color.
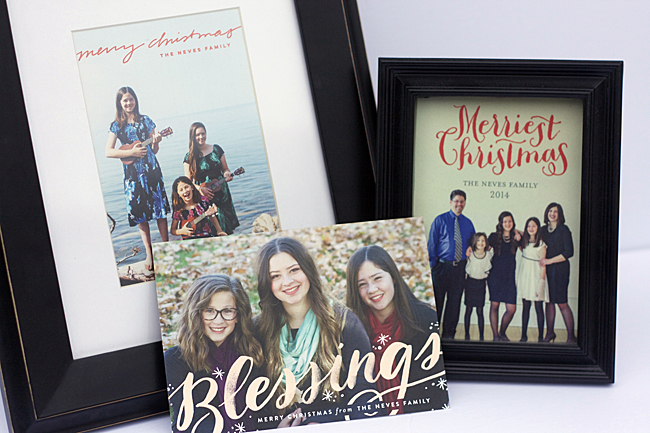
After several pages of beautiful card designs, I finally made my decision! One of the other things I thought about was displaying it in my home. I love to frame the cards from previous years and put them out at Christmas time—you can see the framed cards from the last two years in the photos above. One of the best things about this particular card and message is that it will also be perfect to display at Thanksgiving!
You can see the card design I chose here: Sweeping Blessings Card
If you can’t find a design you’re happy with because of photo colors, try changing your photo into black and white and see if that works better for you.
4. Don’t forget to customize!
Once you’ve chosen your design, don’t forget to check out the available customizations. Minted has several options such as rounding the corners, making different shapes of your cards, adding more photos or a Christmas message to the back, and more.
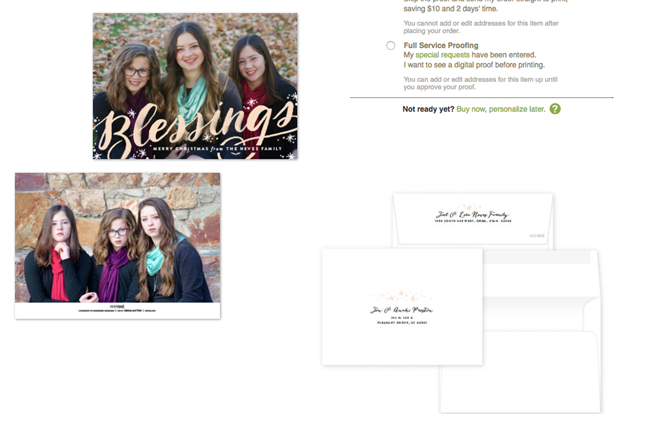
I love the idea of adding a simple Christmas message to the back, but since my husband always writes a holiday newsletter, I chose to add another of my favorite photos to the back.
My favorite part of using Minted for my holiday cards is the free envelope addressing. It is such a HUGE time saver that I don’t think I will ever go without it. I love that each card has its own address design for the envelopes—you can use that or choose a different one.
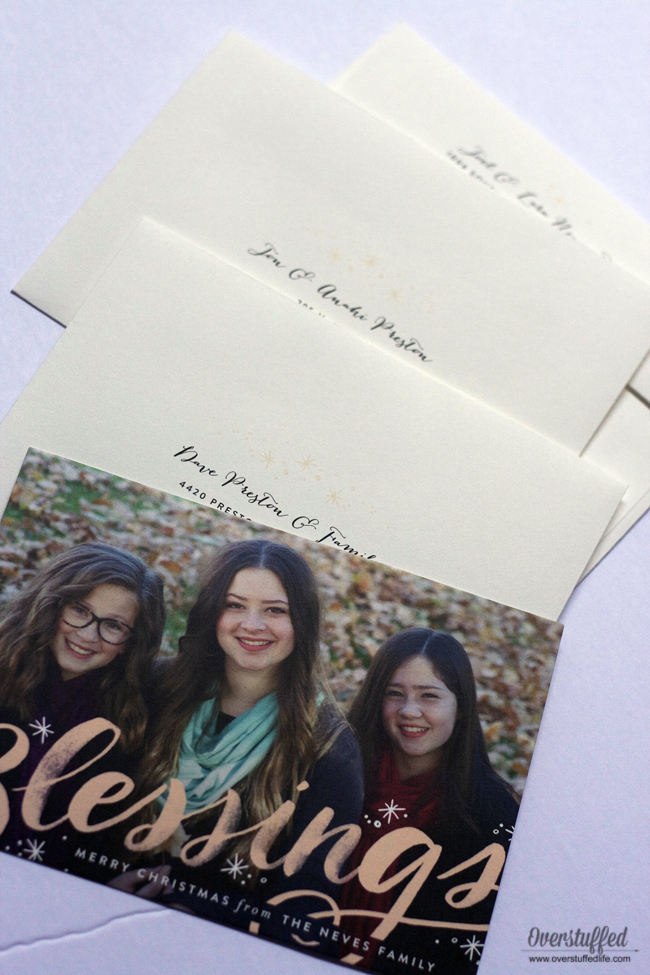
I got my cards and envelopes the other day and I love them! That isn’t a surprise at all, because Minted uses such high quality paper and their printing is always perfect. Now to bug my husband to write his letter so I can start mailing them out right after Thanksgiving.
Want to relieve your Christmas card stress? Click here: A Stress-free guide to sending Christmas cards
This post may contain affiliate links, for more information, please see my disclosure.


