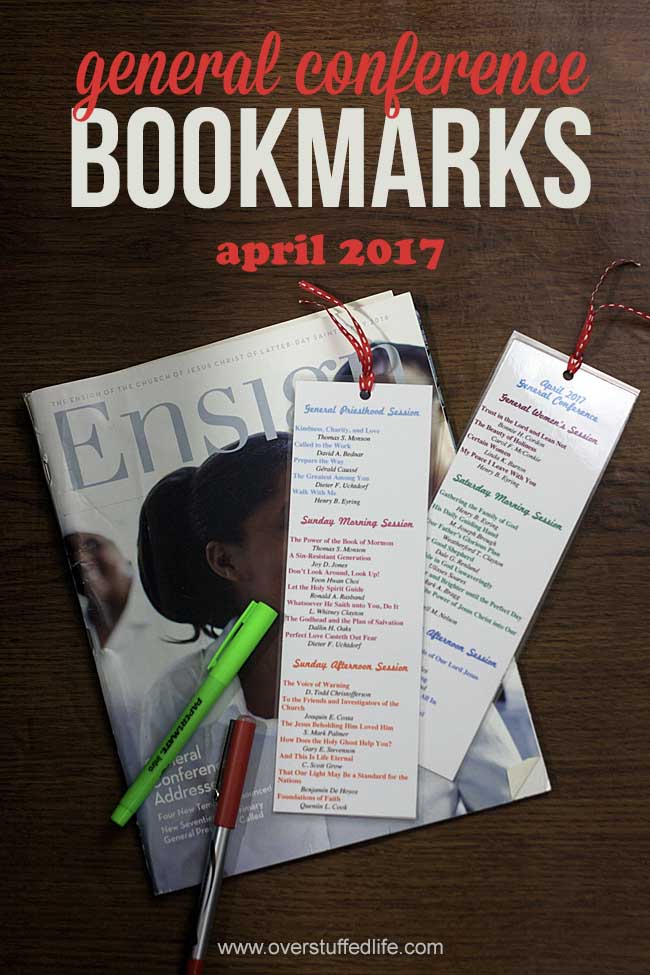
April 2017 General Conference Study Bookmarks
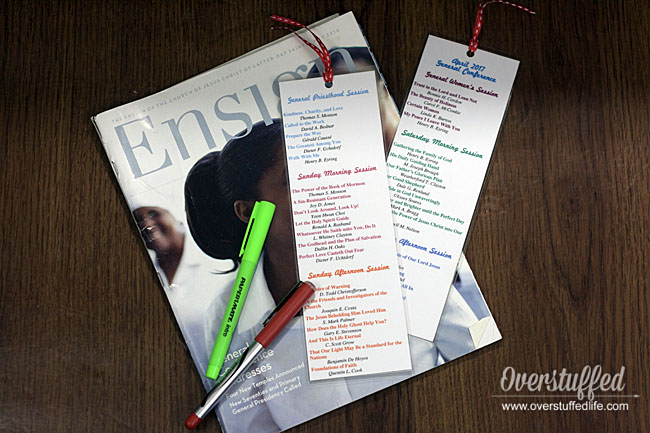
Last April I made these General Conference study bookmarks, and I really enjoyed using them as a way to study the General Conference talks when my Ensign came. I didn’t get around to doing them in October because we were on our sabbatical and everything was a little topsy turvy, but I enjoyed them so much I decided to make them again for this past conference.
I know that a lot of you used them for May visiting teaching last year, too. It’s a great idea, since we are supposed to be choosing a conference talk for our May visiting teaching visits anyway. I hadn’t originally thought of that!
(That’s the Ensign for the last April conference…I’m still eagerly awaiting my copy for this year!)
The bookmarks helped me study because I like the visual reminder and the ability to check things off a list—both of those things really help motivate me!
How to make General Conference Study Bookmarks
1. Download the printable
In order to download the printable file, just put your email into the form at the end of this post and it will be sent directly to you.
2. Print it out
The bookmark is designed to be two-sided. Print it out onto one side of your white cardstock, then reload the paper and print it on the other side.
Every printer is a bit different, so make sure you know how to load the paper so it prints in the correct orientation! It should match up perfectly, though I did have trouble with my new printer in getting it aligned just right. But even though it didn’t quite match up, I was able to cut it out without issue.
Alternatively, you could glue two papers together to get your front and back.
3. Laminate (optional)
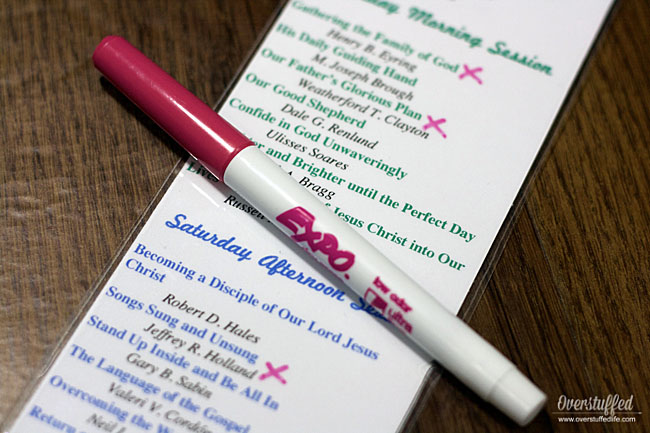
I really like laminating things, so I laminate my bookmarks. They are less likely to rip or get ruined by spilling food or drink on them if they are laminated. I also like to use a dry erase marker or sharpie to keep track of which talks I have studied already.
I have this laminator, which is quite inexpensive. I use these laminating sheets and a small paper cutter.
4. Add a ribbon (also optional)
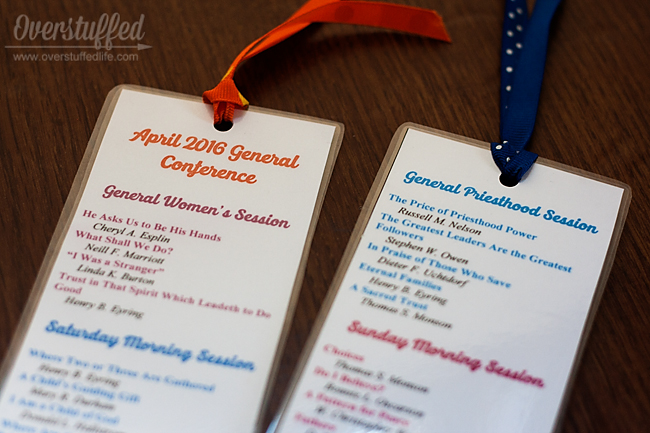
To make it look extra bookmarky and pretty, I like to punch a hole at the top and add some ribbon. I left space on the printable so you can do that if you’d like.
I printed one for me and one for The Maestro. He’s more of a listen to the talks kind of guy, but he might use the bookmark here and there. I’m also definitely going to take one to my visiting teachees this month, too!
I hope you enjoy your bookmarks.
Speaking of visiting teaching, I’d love for you to join us on Facebook at LDS Visiting Teaching Ideas.

Download the Printable
Enter your email address to get the General Conference Bookmark printable delivered straight to your email inbox.
