
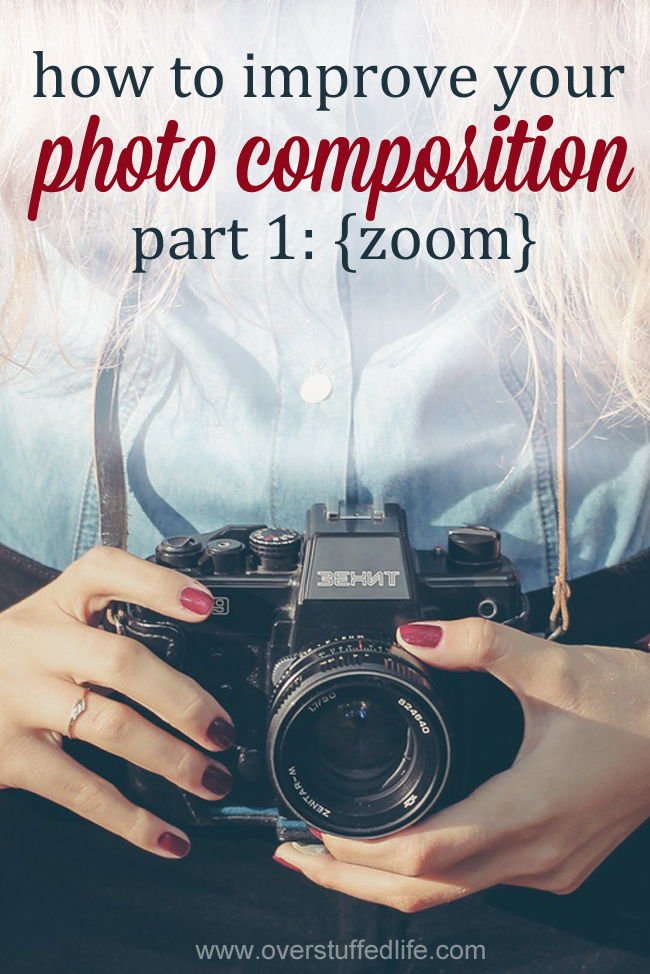
How to Improve Your Photo Composition: Zoom
The best way to improve your photography is simply to learn better photo composition. It’s really easy to just grab the camera and start shooting without even thinking about the composition. And when you shoot without thought to composing the picture, you will often be disappointed with the results. I know I am.
This post is the first in my new photography series on improving photo composition. To see the rest of the series, click here: How to Improve Your Photo Composition Series.
How to Improve Your Photo Composition: Zoom
One of the easiest ways to improve your photo composition is to start thinking zoom-minded. When I am taking photos, I am so focused on the subject that sometimes I completely ignore the full picture. Then I am totally surprised to get my pictures back to see that I also photographed a whole lot of extraneous and distracting stuff, and that the subject I was trying to highlight is lost.
In order to zoom, you don’t necessarily need a super great zoom lens or even a dSLR camera. If you have a point and shoot with optical zoom, you can use the zoom feature on your camera. The Canon PowerShot is a great little camera and has 42x optical zoom, which is amazing! Unfortunately, if your camera only has digital zoom, you will lose quality by using the zoom feature, so use it judiciously. iPhones only have digital zoom, which is why using the zoom results in grainy and low-quality photos. (I did read that the iPhone 7 may offer an optical zoom in its camera, so that’s something to look forward to!) I personally use an entry-level dSLR (Canon Rebel), and my favorite zoom lens to use is this 18-135 mm zoom lens.
2023 update: iPhones that have more than one lens, such as the PRO models, now contain optical zoom.
Don’t worry if you don’t have a zoom lens or access to a camera with optical zoom, though! My very favorite lens to use is actually not a zoom lens. If I need to zoom in or out while using it, I zoom with my feet. Even with a zoom lens you sometimes need to use your feet to get the perfect distance, so don’t plant yourself in one spot—use those feet!
In order to think more zoom-minded, you should always be able to answer the following question when you are behind the camera: What am I trying to emphasize in this photo?
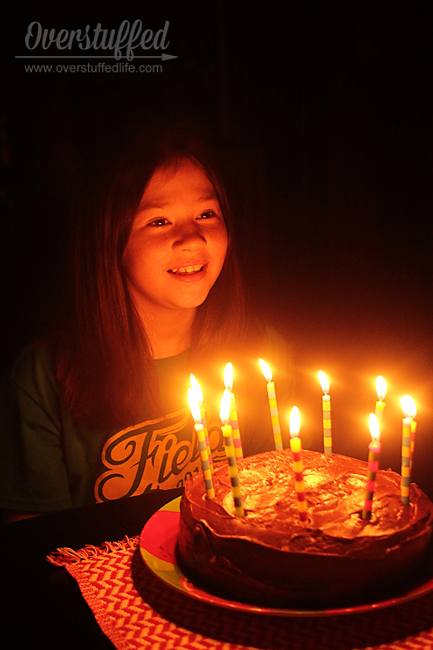
Zoom in when you are emphasizing a person.
If your subject (your child blowing out birthday candles) is what you are hoping to emphasize, you should zoom in and remove the distracting background and foreground material (the messy kitchen table at the birthday party, for instance).

Zoom in when you want to focus on a specific detail.
In the photo above, my daughter had just mastered making Jacob’s Ladder and I wanted to highlight that fact. Had I not zoomed in, the cat’s cradle would not have been as apparent, plus you probably would have seen something like a basket of laundry sitting next to her. Now that it’s been several years since I took the photo, I have no idea if the house was clean or messy, and I can focus on what was important: My daughter’s joy at finally getting the Jacob’s Ladder perfectly.
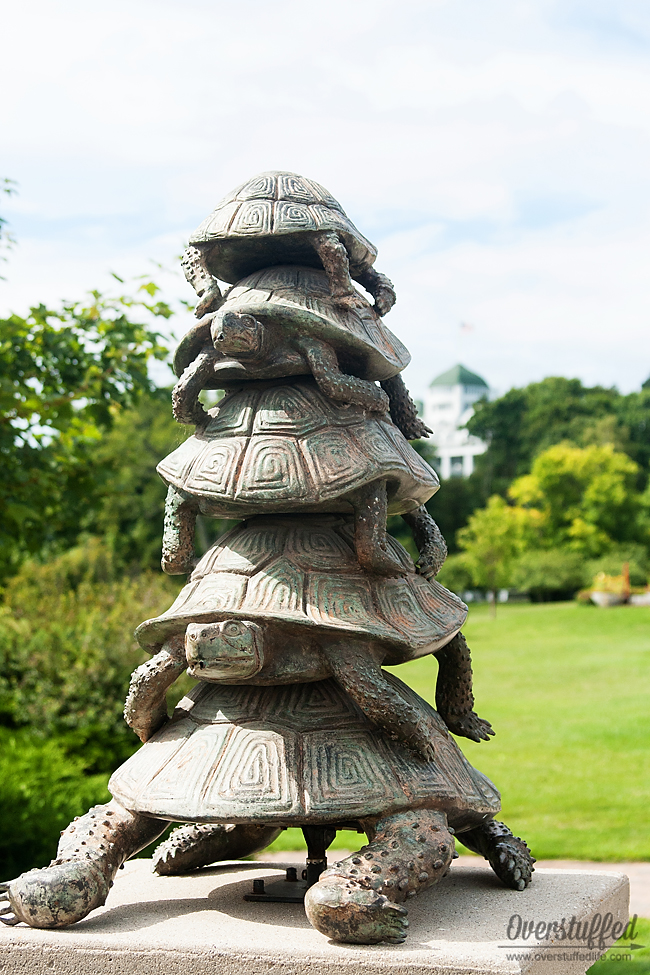
Sometimes the thing you want to emphasize is inanimate. In the photo above, I wanted to emphasize the stone turtles on Mackinac Island. Zooming in on interesting details while you are on vacation is an excellent way to get some really good photos of your trip. The turtles are an important part of Mackinac Island because legend states that the island is the back of a turtle shell, so they are everywhere. I like this photo because you can still see a bit of The Grand Hotel in the background, even though the focus is on the turtles.
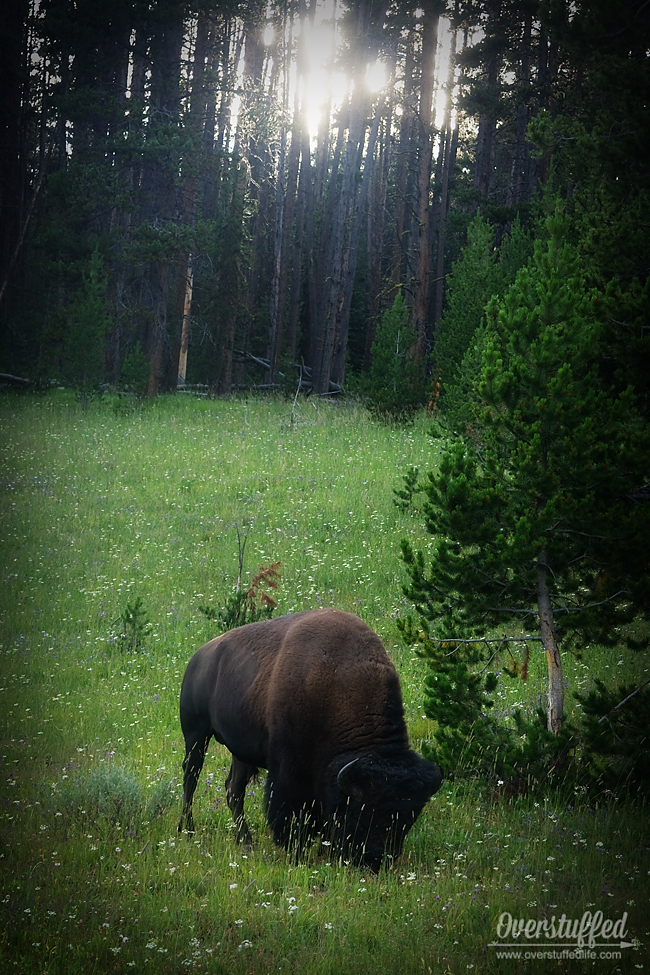
Zoom in on animals.
Whether it’s your own pet, in the wild, or at the zoo, zoom in on animals. I know people say that you should always have a person in your photos when visiting the zoo, but I like to practice getting really great photos of the animals themselves. It’s not always smart to get super close to the animal for a photo, but if you have a good zoom lens, you should zoom in as closely as you safely can. The photo above was taken at Yellowstone, and I am not stupid enough to get that close to a bison, but I did have a zoom lens and I used it from the safety of my car in order to get a great photo.
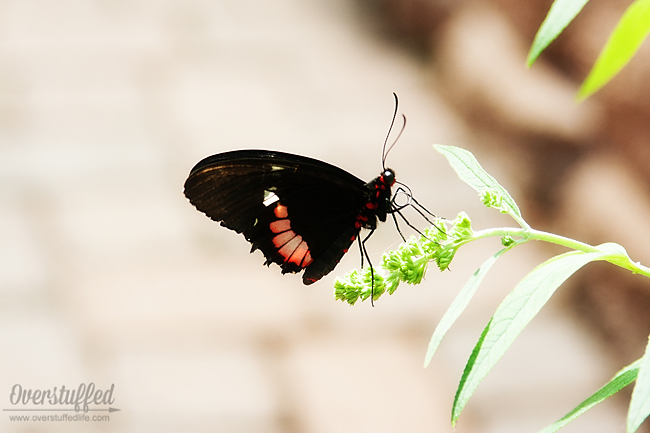
Sometimes the animal is really small, like this butterfly. That’s when you really need to zoom in as much as you can in order to emphasize your subject. Use your feet and your lens!
Zoom out when additional information is important.
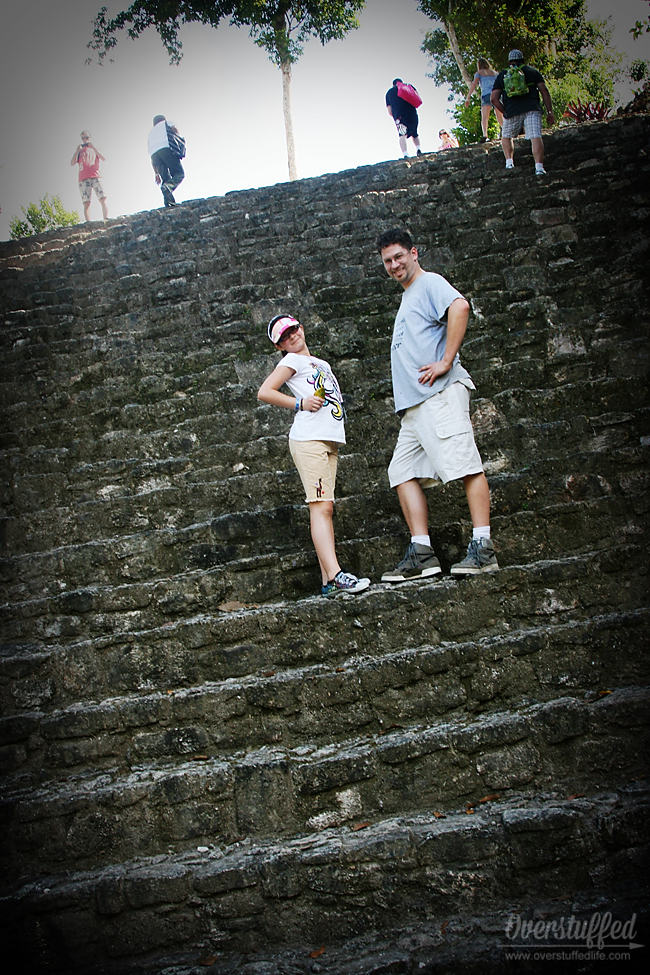
Think about visiting national landmarks or other interesting places. You want to emphasize place and scale in photos like that, so you need to zoom out to capture the crucial details surrounding your subject. In the photo above, we were visiting the Mayan ruins at Chacchoben. I wanted to show the scale of the ruin that my husband and daughter were climbing, so I zoomed out. You can still see who it is on the steps, but you can also tell how big the structure is.
Zoom in to show relationships.
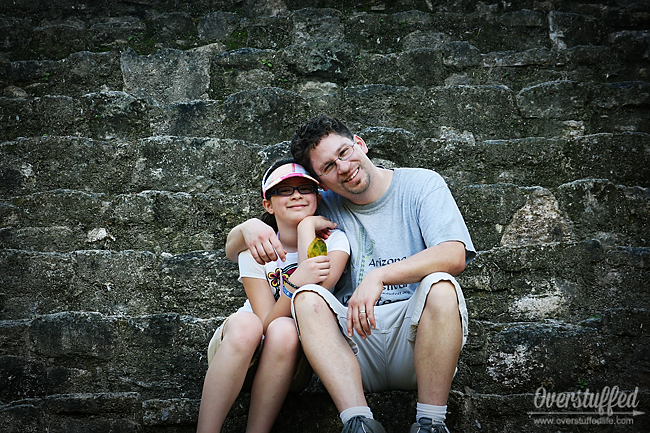
This is the same Mayan ruin, but this time I zoomed in to show the father-daughter relationship. You can still tell where they are, but we are getting a much better sense of who they are than we would if I had not zoomed in.
Zoom out to tell a larger story.
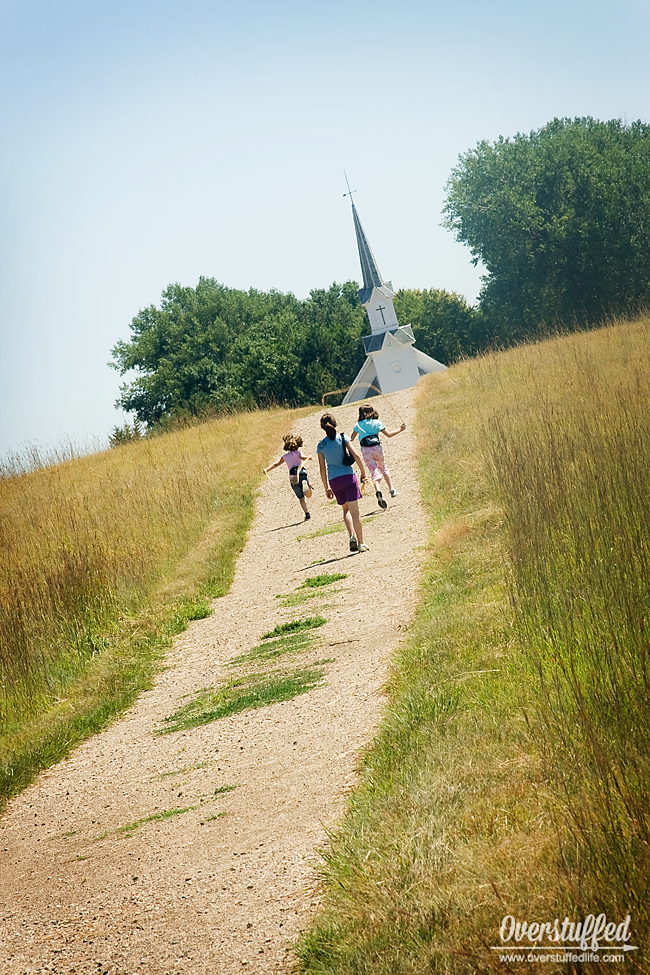
Sometimes it’s just important to emphasize where you are and what your subjects are doing. I could have zoomed in on the photo above to see my daughters jump-roping more clearly, but that isn’t really what I wanted to emphasize. I just loved the image of the three of them jump-roping up the path to the church. We happened to be on vacation, visiting the Laura Ingalls Wilder homestead, but these types of photos can happen anywhere. Just use your eyes, and you’ll know if it’s a zoom in or a zoom out situation.
And you can always do both. Don’t be afraid to experiment with different focal lengths and distances. Just remember to always ask yourself, “What do I want to emphasize in this photo?” And then follow your eyes and your photographer’s intuition, and you’ll start to get some really beautifully composed shots in no time!
Part 2: How to Improve Your Photo Composition: Angles
Part 3: How to Improve Your Photo Composition: Visual Triangles
Part 4: How to Improve Your Photo Composition: Rule of Thirds
Part 5: How to Improve Your Photo Composition: Take Candid Photos
This post may contain affiliate links, for more information, please see my disclosure.


